Top DIY Methods for Effective Headlight Restoration
Table Of Contents
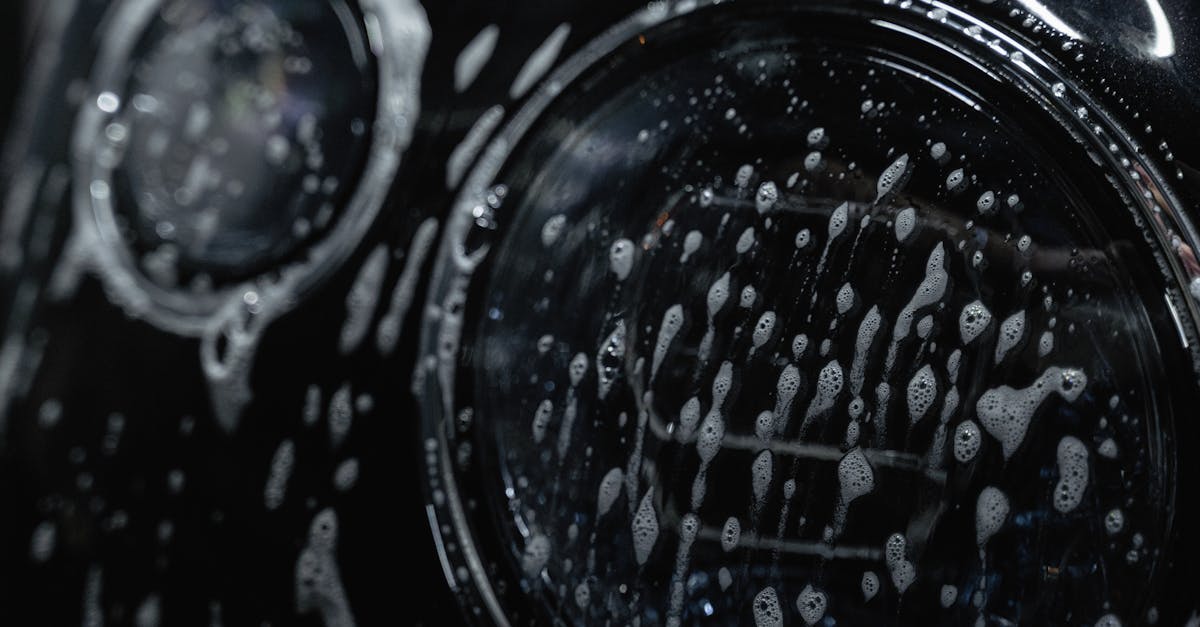
Method 3
Commercial headlight restoration kits are available in many automotive stores and online. These kits typically include everything needed for effective restoration, such as sanding discs, polishing compounds, and UV sealants. The benefits of using a kit lie in the ease of use and the comprehensive instructions often provided. They cater to a range of headlight conditions, making them a versatile option for various users.
Selecting the right kit requires considering the specific needs of your vehicle's headlights. Some kits are designed for severe oxidation, while others are suited for minor cloudiness. Additionally, think about the type of finish you desire and whether you prefer a hands-on approach or a more straightforward method. With a little research, you can find a kit that will rejuvenate your headlights effectively, improving visibility and enhancing your vehicle's appearance.
Choosing the Right Kit for Your Needs
When selecting a commercial headlight restoration kit, consider the type of damage on your headlights. Some kits are designed to handle light oxidation and yellowing, while others may be more suitable for deeper scratches and severe clouding. Look for products that include high-quality restoration gel or polish, as these often provide better results in restoring clarity. Additionally, ensure the kit comes with essential tools like applicators, sandpaper, and protective tape to make the process easier.
It's also important to check the manufacturer's instructions and customer reviews before making a purchase. Kits vary in complexity and effectiveness, so finding one that matches your skill level can lead to a more satisfying outcome. Opt for well-reviewed products from reputable brands to ensure you're investing in a reliable solution. Some kits may even offer UV protection to prevent future discolouration, which can be an added bonus for long-term maintenance.
Method 4
This method utilises two common household items: vinegar and baking soda. Both substances work together to create a powerful cleaning solution that can effectively remove the cloudy film and discolouration on headlights. Start by mixing equal parts vinegar and baking soda in a bowl. The mixture will foam up, which is a normal reaction. Once the fizzing subsides, the paste will be ready for application.
To apply the solution, use a clean cloth or sponge. Generously coat the headlights with the paste, focusing on areas with the most buildup. Allow the mixture to sit for 5 to 10 minutes, giving it time to break down the grime. Afterward, gently scrub the surface in circular motions. Rinse the headlights thoroughly with water to remove any residue and dry them with a soft cloth for optimal clarity.
Preparing the Solution for Restoration
Creating a vinegar and baking soda solution for headlight restoration is straightforward. Begin by mixing equal parts of white vinegar and baking soda in a small bowl. The reaction between the two ingredients will produce a foamy mixture. This reaction helps to enhance the cleaning properties of the solution, making it effective for reducing cloudiness and discolouration on headlights.
Before applying the solution, it’s wise to clean the headlight surface with soap and water to remove any dirt or grime. Once the headlight is dry, use a clean cloth or sponge to apply the vinegar and baking soda mixture. Ensure that the mixture is evenly distributed across the headlight, allowing it to sit for approximately 10 to 15 minutes. This wait time lets the solution penetrate the oxidised layers, ensuring a more thorough clean.
Method 5
Using the sanding technique can significantly improve the clarity of headlights that have become cloudy over time. This method involves a few basic materials, including various grades of sandpaper, water, and a polishing compound. It is essential to work systematically, starting with a coarser grit to remove the top layer of oxidation and moving to finer grits for smoothing the surface, ultimately leading to a clear finish.
Before beginning the sanding process, it is crucial to prepare the headlights. Masking tape should be applied around the edges to protect the car’s paintwork. Keeping the surface wet during sanding helps reduce heat and prevents scratches, leading to better results. After sanding, a thorough wash of the area is advisable to remove any debris, setting the stage for the application of a polishing compound that enhances the shine of the headlights.
Techniques for Safe and Effective Sanding
Sanding headlight lenses can significantly improve their clarity, but it is essential to follow proper techniques to avoid damage. Begin by using wet sanding methods, which help minimise dust and reduce the risk of scratching the polycarbonate surface. Select sandpaper with varying grits, starting with a medium grit like 400, and progress to finer grits, such as 800 and 2000. Keep the surface wet as you sand to ensure a smooth finish and prevent overheating the lens.
Always use a gentle, circular motion while sanding. Avoid applying too much pressure, as this can create deeper scratches or even cause the lens to warp. Keep an eye on the surface frequently to monitor progress and ensure an even restoration. Once the sanding is complete, rinse the headlights thoroughly with water. This not only helps remove any residue but also allows you to inspect the results before proceeding to the polishing stage.
FAQS
What are the benefits of restoring my headlights?
Restoring your headlights improves visibility while driving at night and enhances the overall appearance of your vehicle. It can also prevent the need for expensive replacements.
How often should I perform headlight restoration?
It’s recommended to restore your headlights every 1 to 2 years, depending on environmental factors such as exposure to UV rays and harsh weather conditions.
Are commercial headlight restoration kits worth the investment?
Yes, commercial kits often provide comprehensive tools and solutions for effective restoration, making the process easier and more efficient compared to DIY methods.
Can I use vinegar and baking soda on all types of headlights?
Vinegar and baking soda are generally safe for most plastic headlights, but it's best to test them on a small area first to ensure there’s no adverse reaction.
What should I do if sanding doesn't improve my headlight clarity?
If sanding doesn't yield satisfactory results, consider seeking professional assistance or trying a different restoration method, such as using a commercial kit or a specialised headlight restoration product.
Related Links
The Importance of Regular Headlight Maintenance for SafetyHow to Restore Dull Headlights for Improved Night Visibility
How Headlight Restoration Can Enhance Your Car's Appearance